What Is a Primer Polish and When Do You Need One?
A primer polish sits between a heavy cutting compound and a finishing polish. It’s the workhorse of professional paint correction — aggressive enough to remove moderate defects like swirl marks, water spots, and light scratches, but refined enough to leave a finish that’s nearly ready for coating.
The beauty of a well-formulated primer polish is versatility. With the right pad and technique, you can use it as a one-step correction on lighter paint, or as the primary cutting step on harder clears before following up with a finisher. It’s the product that spends the most time on your machine, so choosing the right one matters.
For most professional correction jobs, a primer polish reduces the need for multiple compounds. You get cutting power and finishing quality in one product, which means fewer pad changes, less product waste, and faster turnaround times.
Pad Selection: The Variable Most Detailers Get Wrong
Here’s the truth most detailers don’t want to hear: your pad selection matters more than your compound choice. A primer polish on the wrong pad will either under-cut or over-cut, and no amount of technique will fix a bad pairing.
For moderate correction on standard clear coats, start with a medium-cut foam pad. This gives you the balance of cut and finish that a primer polish is designed to deliver. If you’re working on harder Japanese or German clear coats, step up to a microfiber cutting pad — the additional mechanical cut from the fibers compensates for the harder paint.
For lighter defect removal or a one-step approach on softer paint, drop down to a light-cut or polishing pad. The primer polish has enough abrasive technology to still cut through light defects, but the softer pad will keep you from cutting deeper than necessary.
Always test your pad-polish combination on a low-visibility area before committing to the full panel. Two test spots — one at your intended speed and one slightly lower — will tell you everything you need to know.
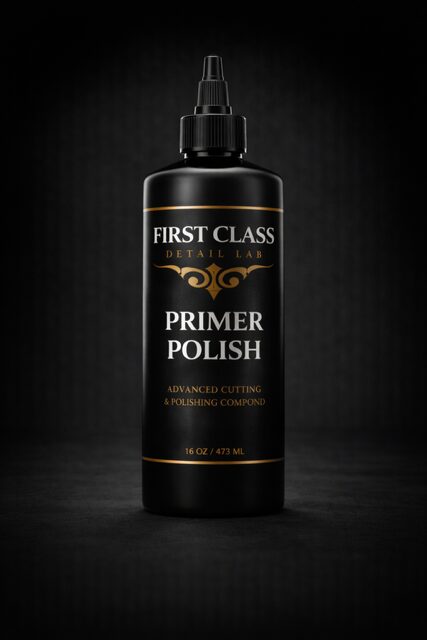
Primer Polish
SiO₂ Primer/Polish
Primer Polish is a hybrid polishing compound and surface primer designed to refine paint, enhance gloss, and prepare surfaces for ceramic coatings in a single step.
Machine Settings and Technique
Speed kills — when it’s wrong. Most primer polishes work best in the 1,200-1,800 RPM range on a rotary, or speed 4-5 on a dual-action polisher. Starting too fast generates excess heat and can burn through clear coat. Starting too slow doesn’t generate enough friction for the abrasives to break down properly.
Begin each section with a slow pass to spread the product, then increase speed for your working passes. Use moderate, consistent pressure — let the machine and the product do the work. Heavy pressure doesn’t mean more cut; it means more heat, faster pad wear, and inconsistent results.
Work in 2×2 foot sections with overlapping passes. Four to six slow passes per section is typically sufficient. You’ll see the product go from opaque to clear as the abrasives break down — this is your visual cue that the cycle is complete.
Keep the pad face flat against the surface at all times. Tilting the machine concentrates pressure on the pad edge, which creates uneven correction and can leave buffer trails that are harder to remove than the original defects.
Reading the Paint: When to Push and When to Stop
Professional paint correction is as much about knowing when to stop as knowing how to start. After each pass, wipe the section clean with an IPA solution or panel wipe and inspect with a proper light source — a focused LED or halogen swirl finder, not the fluorescent lights on your garage ceiling.
If defects remain after two full correction cycles, don’t keep grinding. Reassess your pad choice, check your technique, or accept that some defects may be deeper than the clear coat can safely give up. Over-correction is permanent; a small remaining swirl mark is not.
Learn to read the surface as you work. Clear, glassy reflections mean the primer polish is cutting cleanly. Hazy or milky residue that’s hard to wipe off means you’re generating too much heat or the product isn’t breaking down properly. Adjust your speed or add a light mist of water to re-lubricate.
Cleanup and Coating Prep
After correction, the surface must be completely free of polish residue before any protection is applied. Even invisible residue will prevent a ceramic coating from bonding properly.
Perform an IPA wipedown at 10-15% concentration, using a clean microfiber towel with each panel. Inspect under direct light — if you see any oily smears or residue, wipe again. Some professionals perform two full IPA wipedowns for critical coating installations.
Once the surface is clean, apply your coating within the same session. Corrected paint without protection is vulnerable to contamination, and even a few hours of exposure can introduce contaminants that compromise coating adhesion.
The combination of a professional primer polish with proper technique and immediate coating application is what separates a $500 detail from a $2,000 correction and coating service. Master this workflow, and you’ve mastered the most profitable service in detailing.
Leave a Reply